| Prep: 15 mins | Cook: 15 mins – 20 mins | Difficulty: Medium | Serves: 6 |
| kcal | fat | saturates | carbs |
| 265 | 14.2g | 8.6g | 26.5g |
| sugars | fibre | protein | salt |
| 2.2g | 0.8g | 5.2g | 0.4g |
About Gluten-Free Biscuit
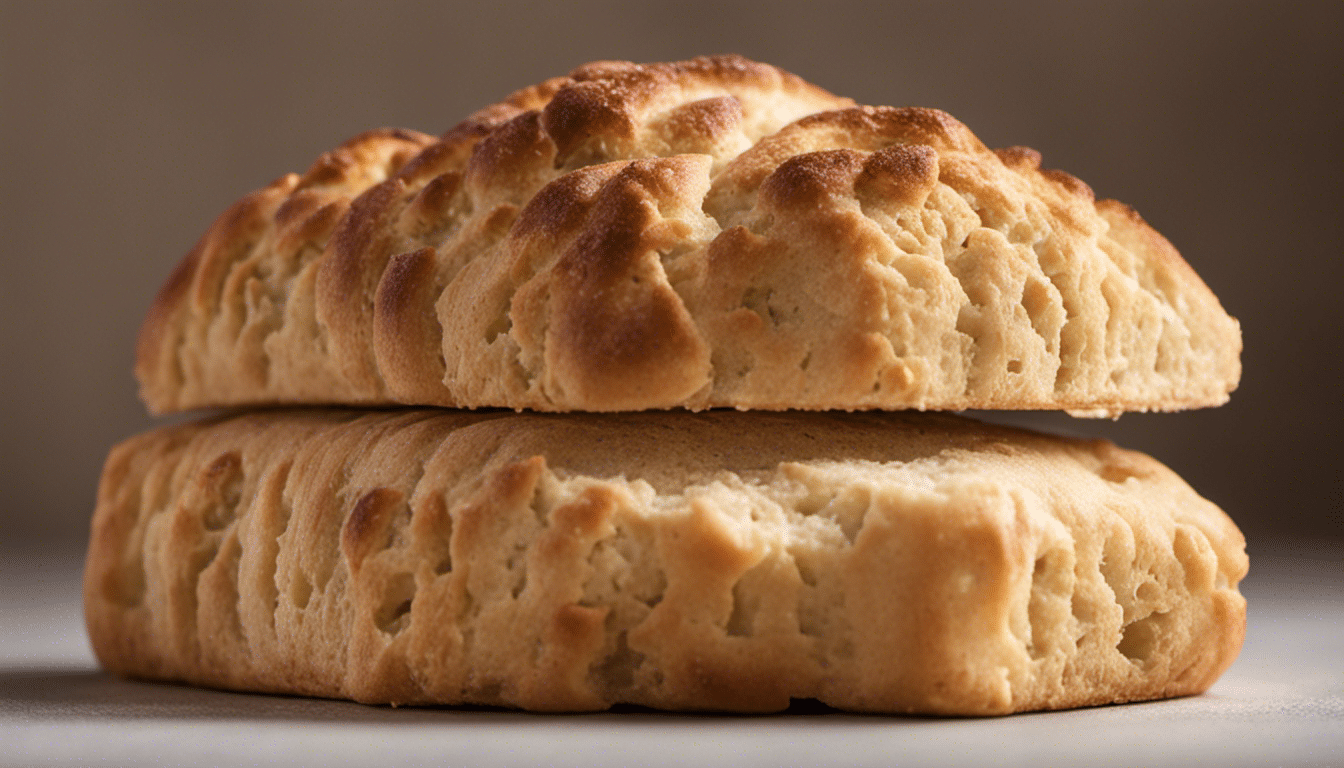
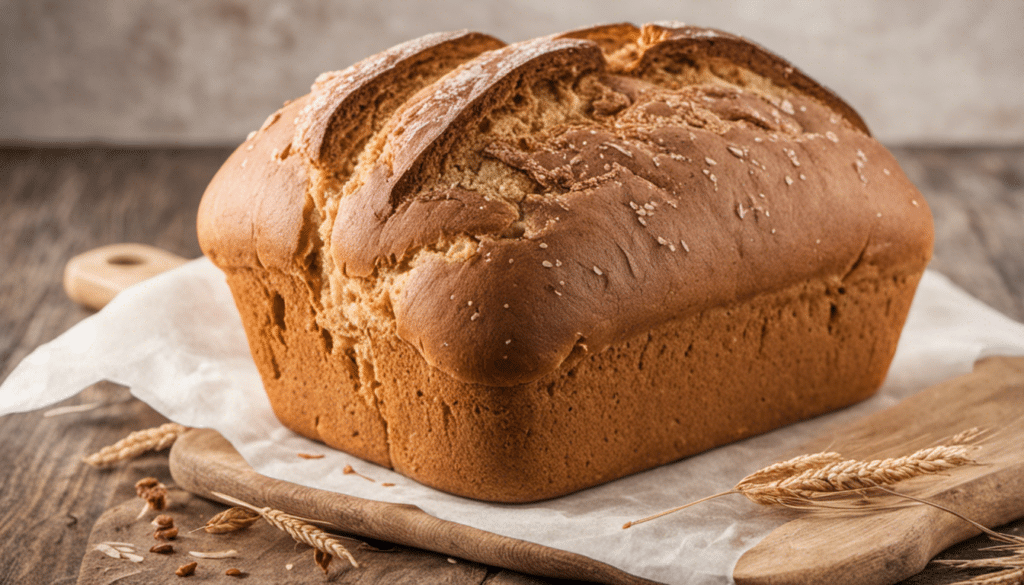
You might think that gluten-free baking is a complex art, reserved only for the seasoned baker. Surprisingly, delicious gluten-enriched baking staples can be easily converted into gluten-free versions by simply swapping a few key ingredients. One such delightful example is the Gluten-Free Biscuit, a simple yet satisfying alternative for those attentive to their gluten intake. This light and flaky biscuit carries the classic richness akin to traditional biscuits, with a twist that makes it entirely gluten-free, and thus, a far more inclusive delicacy.
The Building Blocks of a Gluten-Free Biscuit
Autre than first-time bakers may look at the list of ingredients required for our Gluten-Free Biscuit and feel overwhelmed. Fear not! The variation of ingredients is what makes this a stellar and flexible recipe. Every element plays a part in creating this tasty triumph. Our recipe uses Gluten-Free All-Purpose Baking Flour as the primary component, replacing regular flour, thereby making it safe for those with gluten intolerances or sensitivities.
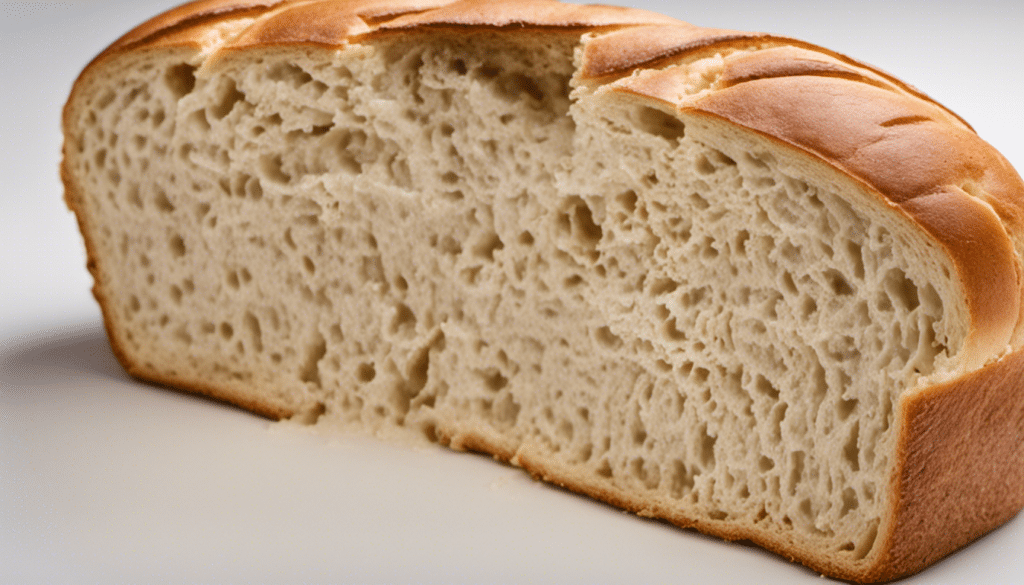
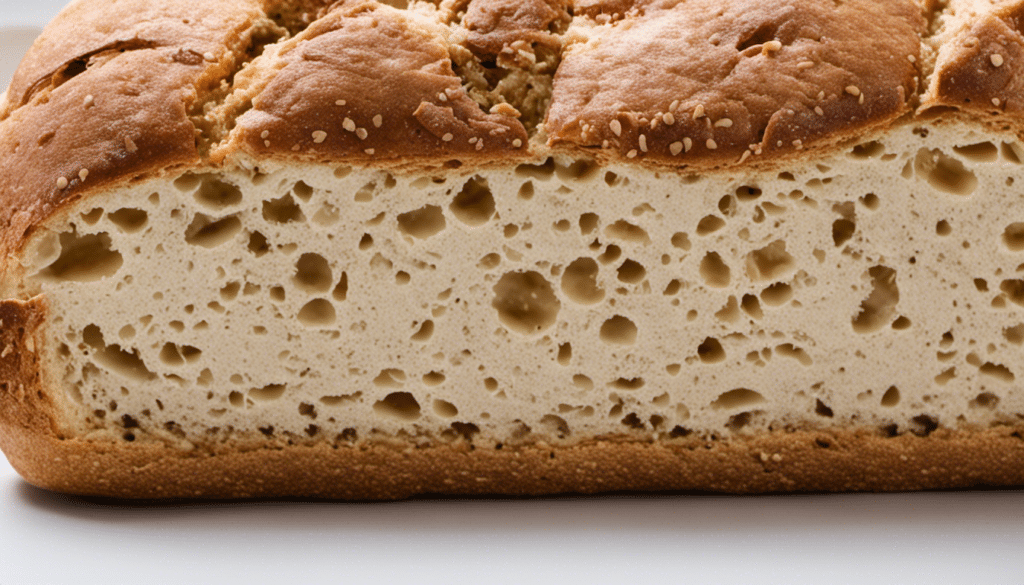
The addition of chilled, diced Unsalted Butter is crucial in order to achieve that tender, rich texture, while Buttermilk lends the biscuits their trademark tang. Sugar, Baking Powder, Salt, and a dab of Baking Soda altogether work to enhance the flavor and create just the right amount of rise in the dough. Rolling out the dough lightly counteracts unnecessary denseness, helping to maintain the biscuit’s light structure and airy crumb.
Perfect Pairings
These Gluten-Free Biscuits are great stand-alone snacks and an excellent choice for breakfast, especially when accompanied by a dollop of vegan butter or a smear of homemade jam. For those with a savory palate, split one of these biscuits in half, top it with a well-cooked sausage patty and a helping of scrambled eggs, and there you have it – an irresistible breakfast sandwich that’s filling and gluten-free.
Looking for a dinner companion? These biscuits can be generously served alongside hearty soups or fresh salads, their buttery softness makes them the ideal tool to mop up every last bit of flavorful juices or dressings.
As you can see, the Gluten-Free Biscuit follows a versatile path. Whether enjoyed on their own or accompanying various other dishes, they’re a heavenly treat promising to deliver a mouthwatering experience to your taste buds. Now go ahead and explore this gluten-free baking journey. Happy baking!
What You’ll Need
- 2 cups Gluten-Free All Purpose Baking Flour
- 1 tablespoon Sugar
- 1 tablespoon Baking Powder
- 1 teaspoon Salt
- 1/4 teaspoon Baking Soda
- 1/2 cup Unsalted Butter (chilled, diced)
- 3/4 cup Buttermilk (if need be, lactose-free)
- 1 large Egg
Method
Step One
Preheat your oven to 450 degrees Fahrenheit (232 degrees Celsius). Start by mixing your dry ingredients. In a large bowl, combine 2 cups of Gluten-Free All Purpose Baking Flour, 1 tablespoon of Sugar, 1 tablespoon of Baking Powder, 1 teaspoon of Salt, and 1/4 teaspoon of Baking Soda.
Step Two
Next, add the chilled, diced, Unsalted Butter to your dry ingredients. Use a pastry cutter or fork to cut the butter into the flour until the mixture resembles coarse crumbs.
Step Three
In a separate small bowl or jug, beat together 3/4 cup of Buttermilk and 1 large Egg. Make a well in the center of the flour mixture and pour in the buttermilk and egg mixture. Stir until the dry ingredients are just moistened.
Step Four
Drop the dough by large spoonfuls onto a baking sheet, making sure to leave spaces in between. Depending on your preference, you can either shape these into round balls for a more traditional biscuit shape, or you can leave them as is for a rustic look.
Step Five
Bake the biscuits in the preheated oven for about 15 minutes, or until they’re golden brown on top. Let them cool a bit before serving, and enjoy!


