| Prep: 10 mins | Cook: 15 mins – 20 mins | Difficulty: Easy | Serves: 6 |
| 1 1/2 cups of gluten-free all-purpose flour |
| 1 1/2 teaspoons of baking powder |
| 1 teaspoon of xanthan gum |
| 1/2 teaspoon of salt |
| 2 tablespoons of unsalted butter |
| 3/4 cup of buttermilk |
| kcal | fat | saturates | carbs |
| 167 | 4.7g | 2.5g | 28g |
| sugars | fibre | protein | salt |
| 1.75g | 1.2g | 3g | 0.2g |
About Gluten-Free Farl
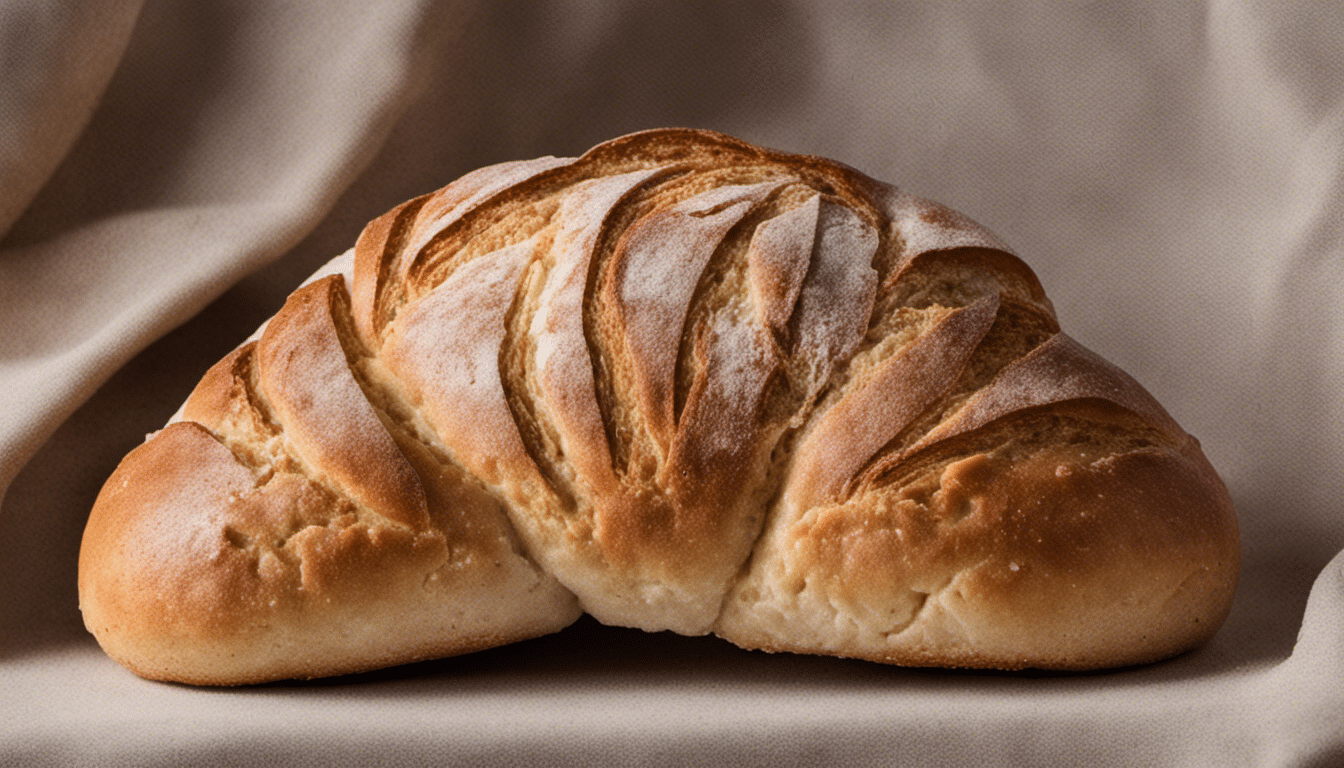
Imagine sitting down to a hearty traditional dish, and as you tear into a piece of bread, you remember the troubles you usually have with gluten. Fear not for we at Your Gourmet Guru have a delicious solution, introducing the Gluten-Free Farl. Treat your taste buds with this delicious dish that’s not just about providing an alternative to gluten-ridden bread, but also about basking in a baking tradition that’s rich in history.
What Makes Our Gluten-Free Farl Stand Out
The Gluten-Free Farl is a tasteful array of carefully selected ingredients, designed to blend into a mouthwatering gastronomic treat. Without divulging too much, think of gluten-free all-purpose flour, a dash of baking powder, the gumminess of xanthan gum, a pinch of salt, the richness of unsalted butter, and the creamy lusciousness of buttermilk, all coming together in a harmonious symphony of irresistible flavor.
The Importance Of Gluten-Free Options
Research increasingly shows the benefits of a gluten-free diet for many, not just those with coeliac disease. Adopting a gluten-free lifestyle didn’t mean that you have to sacrifice the texture and familiar taste of your favorite breads. This is where our gluten-free farl comes in. Tailor-made for the lovers of hearty breads who still want to continue enjoying their bread-loving customs, without the worries of gluten-related discomforts.
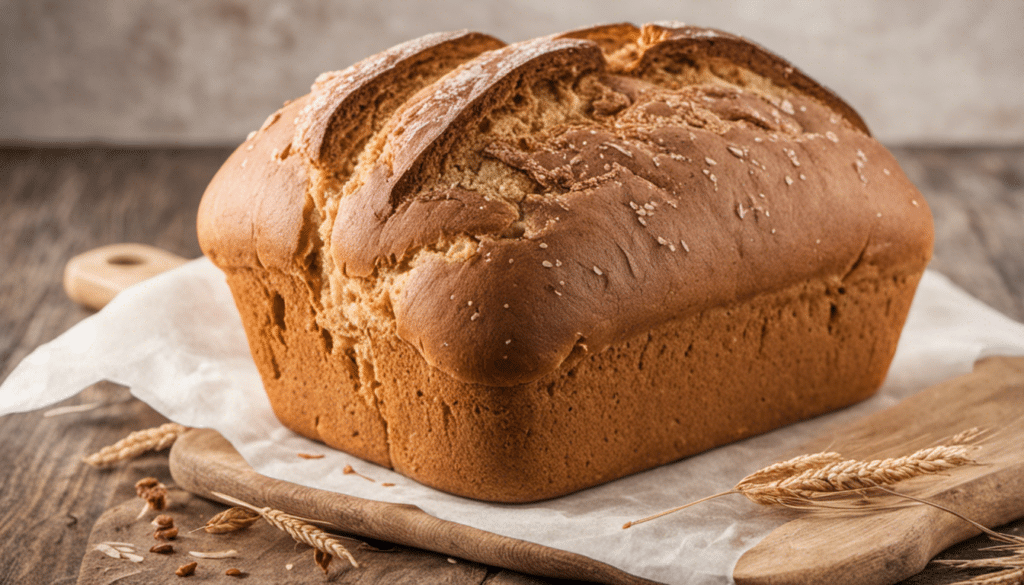
The Gluten-Free Farl finds its kinship in dishes such as the Irish soda bread, Scottish bannocks, or even the English scones and American biscuits. It carries the wholesomeness of the traditional varieties, recreated with a clever mix of ingredients, delivering a beautiful texture, and a delightful taste that goes well with a variety of spreads, or even on its own! This versatile bread can be an excellent accompaniment to your hearty soups, stews, scrambled eggs and is a delight when toasted and drizzled with a little honey!
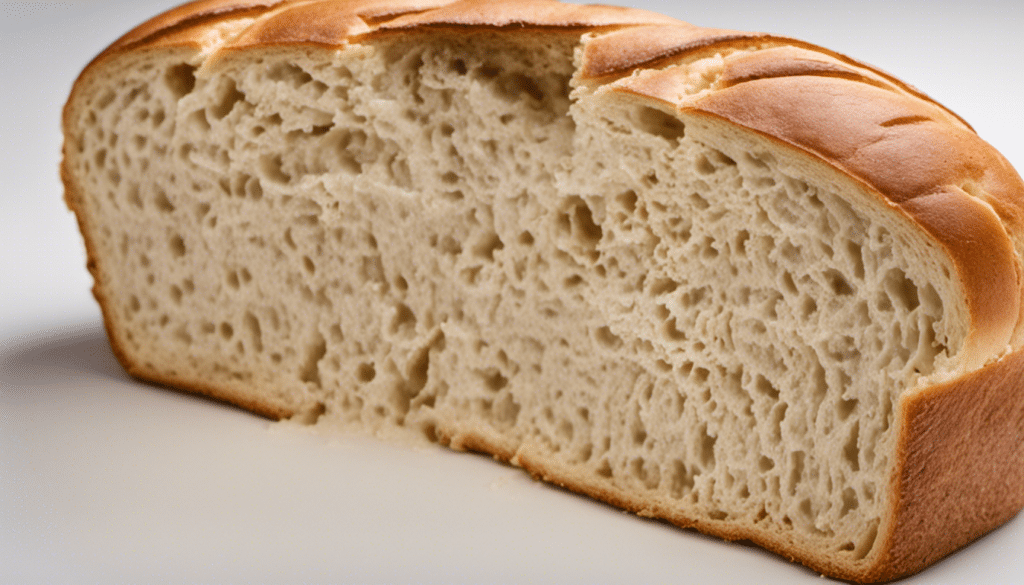
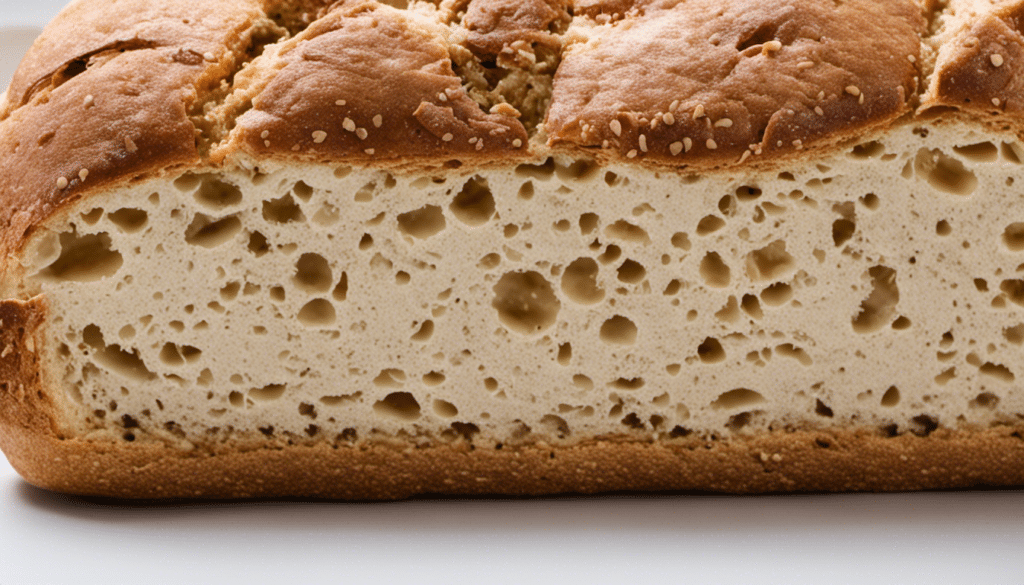
A wonderfully light and slightly crumbly bread, they are best enjoyed warm, split open and slathered with lashings of good quality butter. However you choose to enjoy it, the Gluten-Free Farl is a delicious addition to your bread options, additionally contributing to a healthier bread choice.
What You’ll Need
- 1 1/2 cups of gluten-free all-purpose flour
- 1 1/2 teaspoons of baking powder
- 1 teaspoon of xanthan gum
- 1/2 teaspoon of salt
- 2 tablespoons of unsalted butter
- 3/4 cup of buttermilk
Method
Step One
Start by preheating your oven to 425 degrees Fahrenheit (220 degrees Celsius). While the oven is heating, prepare a baking sheet with parchment paper.
Step Two
In a large mixing bowl, combine your 1 1/2 cups of gluten-free all-purpose flour, 1 1/2 teaspoons of baking powder, 1 teaspoon of xanthan gum and 1/2 teaspoon of salt. Whisk the ingredients together to fully combine and break up any lumps in your dry ingredients.
Step Three
With your dry mixture ready, you’ll need to cut in the 2 tablespoons of unsalted butter. This can be accomplished using a pastry cutter or you could use your fingers to crumble the butter into the flour, creating a texture similar to coarse crumbs.
Step Four
Now, pour in the 3/4 cup of buttermilk slowly while stirring the mixture. Continue stirring until the dough begins to come together; it might be a bit crumbly but that’s okay.
Step Five
On a flour-dusted surface, turn out your dough and knead it lightly several times until it forms a soft ball.
Step Six
Flatten your dough into a round circle of about 1/2 inch thickness and cut it into quarters.
Step Seven
Place the four portions of the dough onto your prepared baking sheet and bake in the pre-heated oven for about 15-20 minutes, until they’re golden brown. Test for doneness by inserting a toothpick into the middle; if it comes out clean they are cooked through.
Step Eight
Remove your farls from the oven and let them cool for a few minutes on the baking sheet before transferring them to a wire rack to cool completely. Enjoy your Gluten-Free Farls while they’re still warm or save them for later!


