| Prep: 20 mins | Cook: 25 mins – 30 mins | Difficulty: Medium | Serves: 6 |
| kcal | fat | saturates | carbs |
| 220 | 5.5g | 1g | 37g |
| sugars | fibre | protein | salt |
| 7g | 5g | 4g | 0.6g |
About Gluten-Free Pistolet
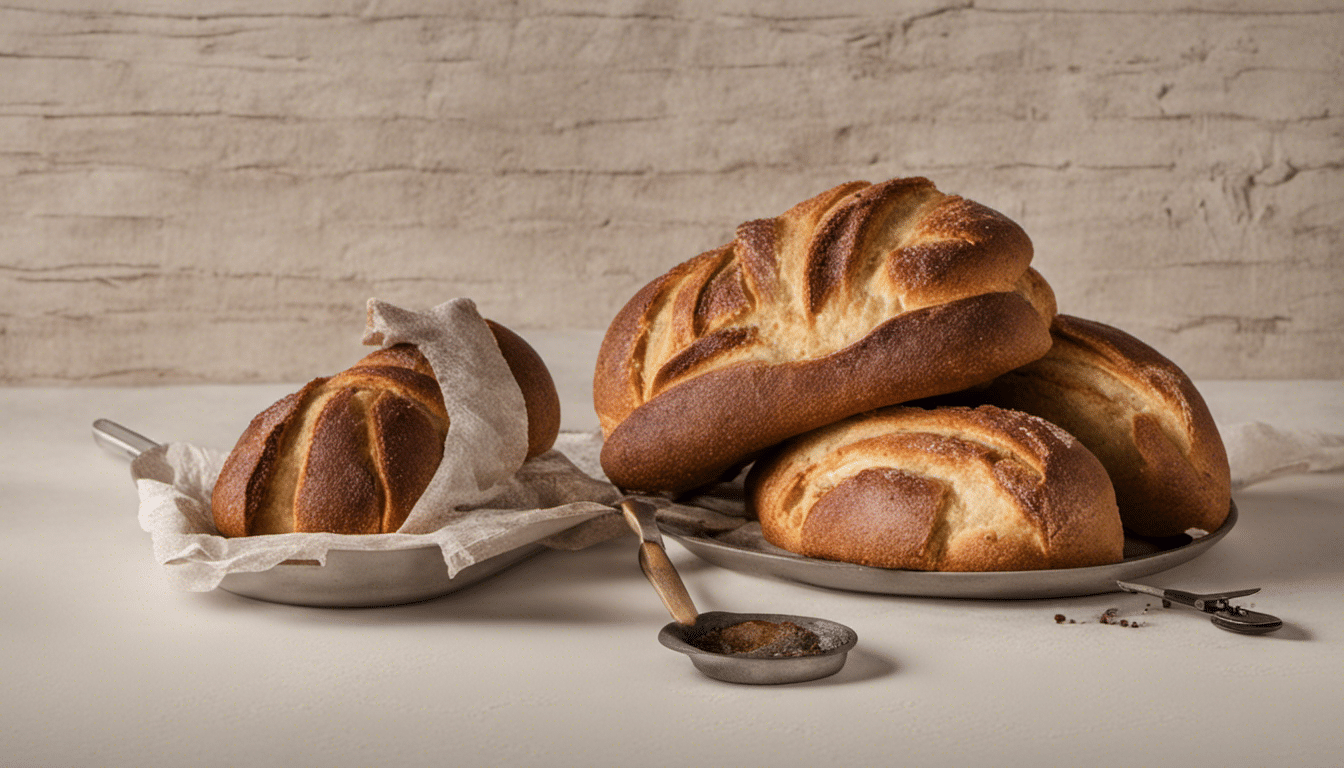
The Gluten-Free Pistolet, your next baking obsession, is surely waiting in your kitchen to thrill your taste buds with its savory and heartening delight. Famously known for its Belgium roots, this small, round bread has managed to woo bread lovers around the world. This appetizing roll is just perfect for those with a gluten-free dietary preference while not compromising on the delight of bread eating. Just as every bread has a story, so does our Gluten-Free Pistolet.
A Flavor Tale Rooted in Belgium
At its core, our Gluten-Free Pistolet is a translation of a beloved bread from Belgium. Traditionally baked using wheat flour, the original pistolet is a centerpiece of many a brunch in its homeland. In order to allow more people to enjoy this beautifully crisp yet chewy bread, we’ve curated a recipe that replaces traditional wheat flour with gluten-free bread flour and implements the structure-adding power of xanthan gum – thus transforming the classic pistolet into a gluten-free marvel.
Perfect Companion for Your Favorite Dishes
One of the inherent beauties of the Gluten-Free Pistolet is its versatility. It pairs beautifully with a simple pat of butter or smeared with your favourite marmalade for breakfast. Split the bread open and discover it making the perfect pocket for a lavish sandwich. If you’re more traditionally inclined, serving it alongside a hearty soup, such as the classic Belgian Waterzooi, would turn an ordinary meal into a gourmet bracing experience.
The Art of Baking It Right
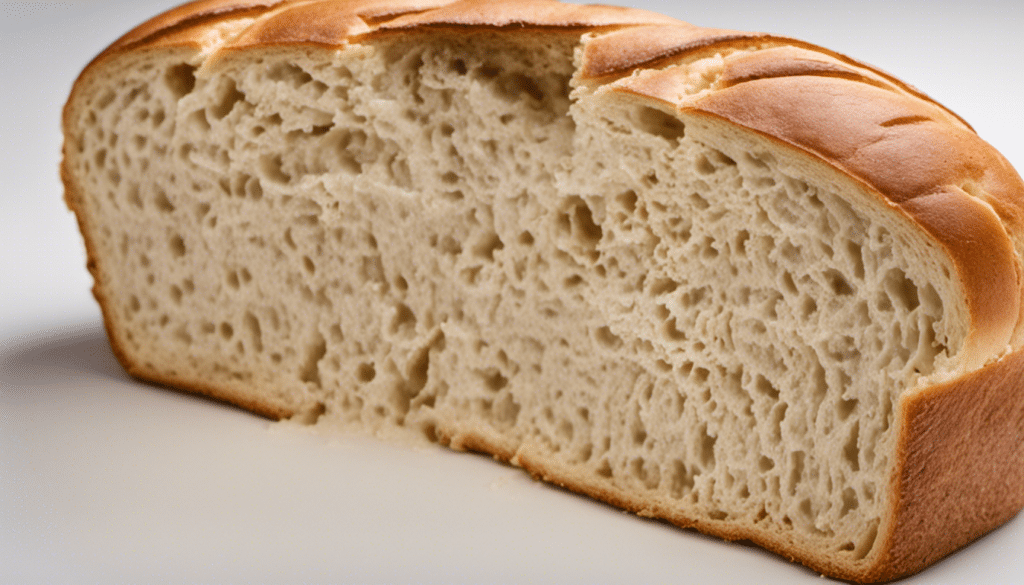
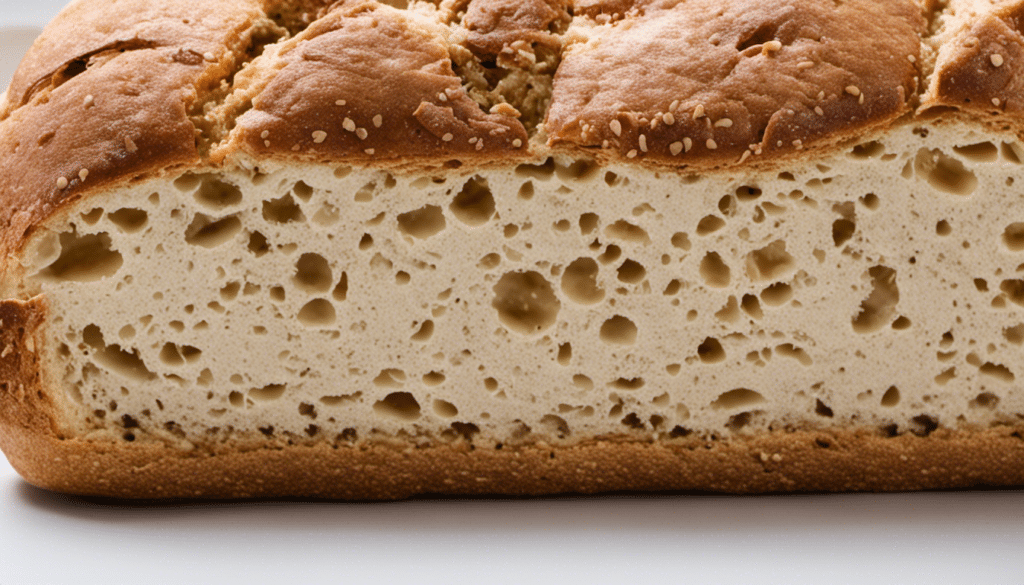
Creating the Gluten-Free Pistolet involves a few steps and careful consideration of ingredients. While the gluten-free flour provides a lovely base, the addition of xanthan gum helps provide that structure and ‘bread-like’ texture we all love. The use of active dry yeast ensures a good rise and that light airy-ness inside, whilst the cider vinegar aids in the activation of the yeast. Each ingredient plays a key role in presenting you with a delightful bread that’s crusty on the outside, soft on the inside, and utterly delicious!
So, next time you’re craving a hearty bread treat or looking to show off your baking prowess, try your hand at a batch of gluten-free pistolets. It’s a baking challenge you’ll definitely enjoy and a bread your taste buds will thank you for.
What You’ll Need
- 1.5 cups of gluten-free bread flour
- 1.5 tablespoons of sugar
- 1.5 teaspoons of salt
- 2 teaspoons of xanthan gum
- 1 packet (or 2.25 teaspoons) of active dry yeast
- 1.5 cups of warm water
- 3 tablespoons of vegetable oil
- 2 large eggs
- 1 teaspoon of cider vinegar
- White sesame seeds for garnish (optional)
Method
Step One
In a large bowl, mix together your gluten-free bread flour, sugar, salt, xanthan gum, and active dry yeast until they’re well combined.
Step Two
In a separate bowl, mix the warm water, vegetable oil, eggs, and cider vinegar. Stir these together until they’re thoroughly combined.
Step Three
Gradually add the wet mixture to the dry mixture. Stir it all together continuously to prevent lumps from forming—carry on until the batter is smooth.
Step Four
After your dough has been thoroughly mixed, cover your bowl with a warm, damp cloth. Leave this in a warm, draft-free area to rise—this should take about 1 hour. When it’s finished, the dough should have roughly doubled in size.
Step Five
Preheat your oven to 375 degrees Fahrenheit (190 degrees Celsius) and line a baking sheet with parchment paper. Meanwhile, lightly oil your hands and shape your dough into the desired form of a Pistolet.
Step Six
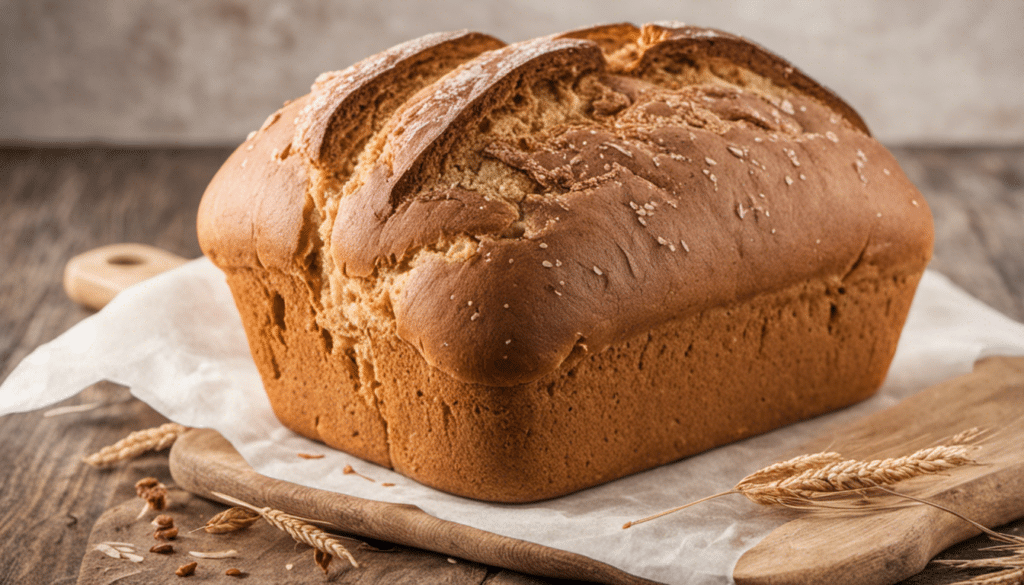
Place your formed dough onto the pointed baking sheet. If desired, sprinkle some white sesame seeds on top for garnish before placing it in the oven.
Step Seven
Bake for about 25-30 minutes, or until the Pistolet is golden brown.
Step Eight
Once done, remove the Pistolet from the oven and allow them to cool on a wire rack for a bit before serving.
Step Nine
Enjoy your gluten-free Pistolet by itself or pair it with your desired meal. This recipe can also be stored for later use.


