| Prep: 15 mins | Cook: 10 mins | Difficulty: Medium | Serves: 6 |
| kcal | fat | saturates | carbs |
| 403 | 24.8g | 15.3g | 27.4g |
| sugars | fibre | protein | salt |
| 15.7g | 1.5g | 18.5g | 0.78g |
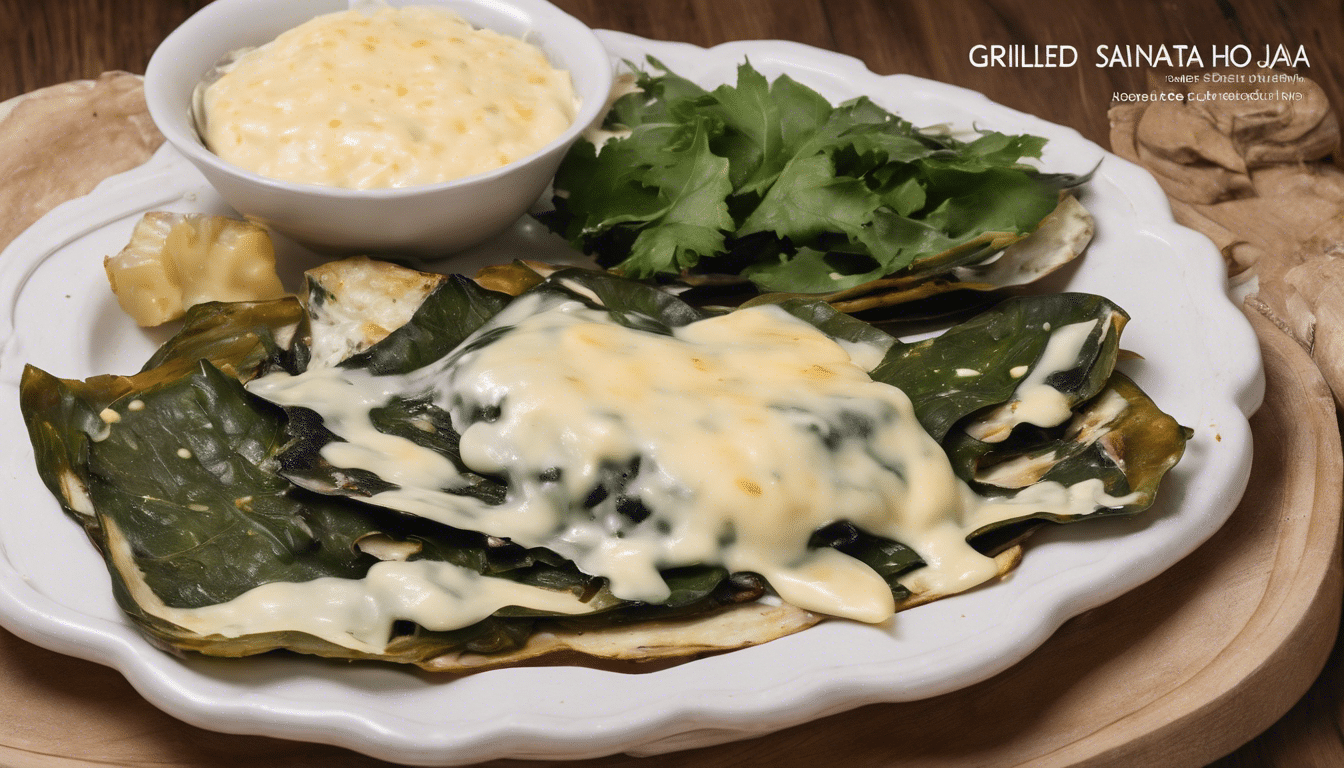
I’m absolutely thrilled to share this delectable recipe with you – the Grilled Hoja Santa with Cheeses. It’s a vibrant, fresh fiesta for your taste buds that echoes the distinctive Tex-Mex flavors I grew up loving. I would enthusiastically prepare this delicacy in my Texas kitchen, and it never failed to win hearts at every family gathering or potluck. It’s a delightful marriage of sweet fruits, rich cheeses, and fragrant Hoja Santa leaves that blends traditional Southern flavors with a unique innovative edge.
The Origin of the Flavors
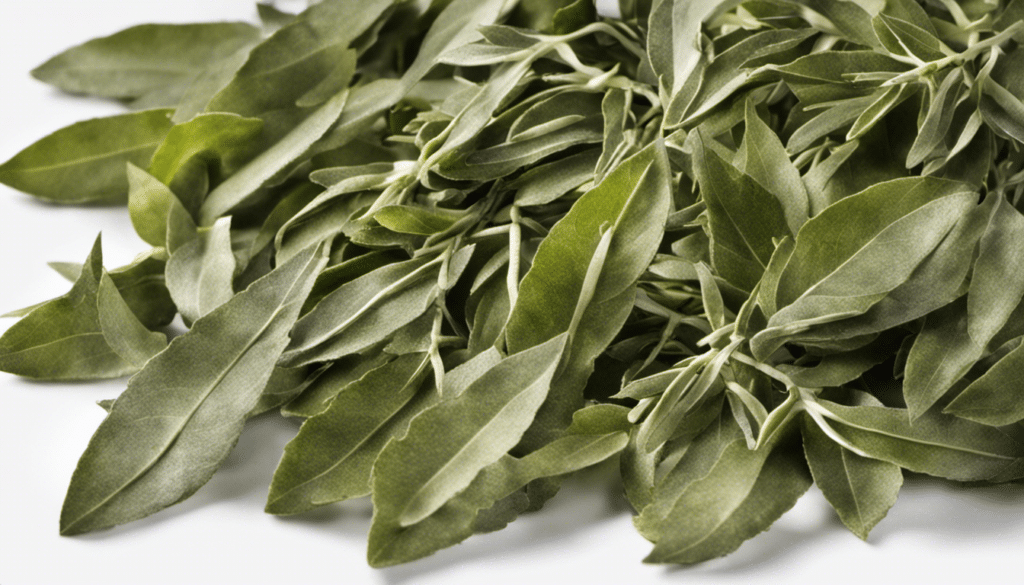
The three types of cheeses at the heart of the Grilled Hoja Santa with Cheeses recipe are a nod to Mexican classical cooking. Panela, Oaxaca, and Manchego cheeses each have their own character – they meld together to give this dish its unique creamy, gooey, and nutty nature. The use of ripe pears and plums does more than just providing a sweet contrast to the cheese. Their natural sugars caramelize upon heating, adding a depth of flavor that takes this dish to a whole new level. Not to forget the star ingredient – Hoja Santa – which lends an anise-like flavor note to our star dish that truly sets it apart.
Why it’s More Than Delicious
While I must admit the Grilled Hoja Santa with Cheeses is a delight for the taste buds, I also love how it brings a rich array of health benefits. Sweet, succulent pears are an excellent source of dietary fiber and a good source of vitamin C. Both help maintain overall good health. Plums, with their high antioxidant, vitamin C and K content, not only add to your health but also lend a beautiful color to the dish. Last but definitely not least, honey and olive oil offer vital anti-inflammatory benefits while contributing their unique flavors to the dish.
This recipe is somewhat reminiscent of the traditional Mexican Queso Fundido with a fruity twist and can be paired perfectly with an array of dishes. Enjoy it with warm tortillas or a crunchy baguette, or serve it as an appetizer with a side of guacamole. It’s versatile, flavorful, and something you’ll certainly love to recreate in your kitchen!
I invite you to add this mouth-watering recipe of Grilled Hoja Santa with Cheeses to your culinary repertoire and explore a refreshing blend of traditional and modern flavors. It’s recipes like these that inspire me to keep reinventing Southern classics with a dollop of creativity and flair. Here’s to culinary adventures and hearty, flavorsome dishes!
What You’ll Need
<ul>
<li>6 large Hoja Santa leaves</li>
<li>6 slices of Panela cheese, 1 inch thick</li>
<li>6 slices of Oaxaca cheese, 1 inch thick</li>
<li>6 slices of Manchego cheese, 1 inch thick</li>
<li>2 ripe Pears, cored and thinly sliced</li>
<li>2 ripe Plums, thinly sliced</li>
<li>1/2 cup of Honey</li>
<li>1/2 cup of Balsamic reduction</li>
<li>Salt to taste</li>
<li>Pepper to taste</li>
<li>Olive oil for brushing</li>
</ul>
Method
<h3>Step One</h3>
<p>Firstly, prepare the Hoja Santa leaves. Brush them with olive oil on both sides, and season them with salt and pepper to taste.</p>
<h3>Step Two</h3>
<p>Next, place a slice of Panela cheese, Oaxaca cheese, and Manchego cheese on each Hoja Santa leaf. Make sure to position the cheese in the center of the leaf.</p>
<h3>Step Three</h3>
<p>Continue by putting some slices of pear and plum on top of the cheeses. Then, fold the ends of the Hoja Santa leaves over the filling, sealing it inside.</p>
<h3>Step Four</h3>
<p>Heat a grill over medium heat. Once hot, place the filled and sealed Hoja Santa leaves on the grill with the seam side down.</p>
<h3>Step Five</h3>
<p>Grill until the bottom side of the leaf has char marks and the cheese inside begins to melt. After this, flip the leaf over and grill the other side for the same duration.</p>
<h3>Step Six</h3>
<p>Once both sides of the Hoja Santa leaf wrappers are grilled and the cheese inside is completely melted, remove them from the grill.</p>
<h3>Step Seven</h3>
<p>Finally, serve the Grilled Hoja Santa with cheeses drizzled with honey and balsamic reduction. Enjoy while hot for the best taste.</p>


