| Prep: 15 mins | Cook: 20 mins | Difficulty: Medium | Serves: 6 |
| kcal | fat | saturates | carbs |
| 50 | 0.2g | 0g | 11g |
| sugars | fibre | protein | salt |
| 9g | 0.7g | 0.6g | 1.2g |
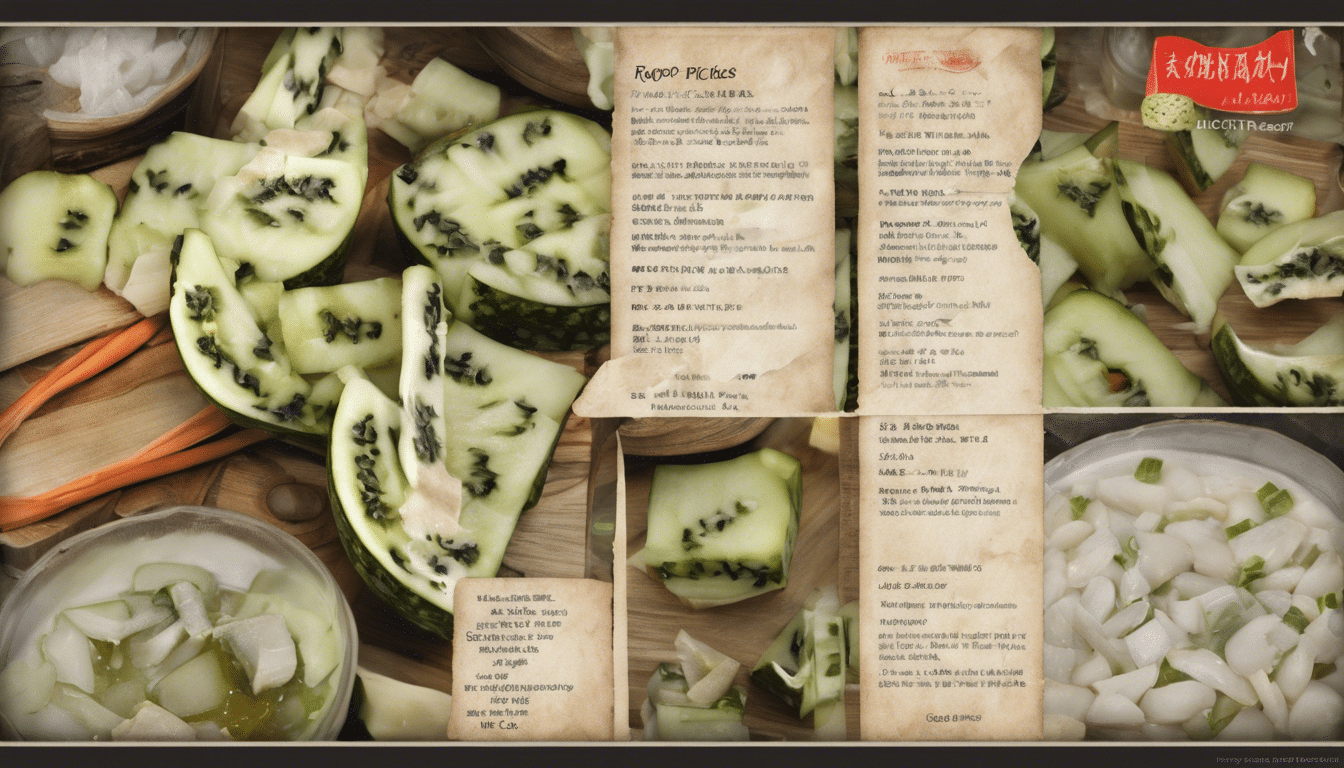
There’s a good reason why the Mouse Melon Pickles recipe holds a special place in my heart. After all, one of my greatest passions is finding creative ways to marry my Italian-American culinary heritage with the freshest produce from native soil. This unique vegetable-based recipe does just that, drawing on traditional pickling techniques while introducing you to the intriguing flavor of Mouse Melons.
A Story of Culinary Exploration
In the simplest terms, making Mouse Melon Pickles is like embarking on a culinary journey that takes you from the rustic kitchens of my Italian grandparents to the heart of American home cooking. These tiny cucurbit gems, also known as cucamelons or Mexican sour gherkins, are not just adorably bite-sized but they also possess a vibrant, tangy flavor that falls somewhere between a cucumber and a lime. If you’ve never tried them, you’re in for a treat!
It’s this very spirit of exploration, reflected in molecular gastronomy and fusion cuisine, that I want to foster through my recipes. I also believe in playing up wholesome, nutritional ingredients that are beneficial to your body.
The Nutritional Side of Mouse Melons
Mouse Melons are not only tasty but they are power-packed with vitamins such as A and C, and important minerals like potassium and magnesium. Bringing them together with other busy pantry ingredients like vinegar, sugar, salt, mustard seeds, peppercorns, bay leaves and garlic cloves, we are essentially creating a healthy snack or side dish that blends deliciousness with nutritional wellness.
Also worth noting, pickles are rich in probiotics due to the fermentation process involved in their preparation. And what do probiotics do? They help keep our gut flora balanced and our digestive system functioning smoothly.
Elephant in the Kitchen – How to Serve Them?
Okay, so you’ve prepared a big batch of these crisp, delicious Mouse Melon Pickles. Now how do you serve them?
This pickle recipe can seamlessly blend with various dishes, adding that burst of tanginess to perk up your meal instantly. Mouse Melon Pickles can be a delightful addition to cold pasta salads or can be served along with grilled meats, where they cut down the greasiness and balance out the rich flavors with their sharp tangy notes. The brine can even be used as a base for your salad dressings or marinades, repurposing at its best!
This recipe reminds me of the traditional pickles we had back home in New Jersey, adding a whiff of nostalgia to every bite. Recipes like these aren’t just food to me, they are cherished memories that keep the fire of my love for cooking burning. So, why not give it a shot and embrace the joy of cooking with some intriguing vegetables like Mouse Melon?
Check out the detailed recipe here.
What You’ll Need
- 2 cups Mouse Melons
- 1 1/2 cups White Vinegar
- 1 cup Water
- 1/2 cup Sugar
- 2 teaspoon Salt
- 2 teaspoon Mustard Seeds
- 1 teaspoon Peppercorns
- 2 Bay Leaves
- 4 cloves Garlic
Method
Step One
Begin by thoroughly washing your mouse melons to ensure they are clean. Set them aside to dry.
Step Two
In a medium-sized saucepan, combine your white vinegar, water, sugar, and salt. Heat this mixture over medium flame until the sugar has completely dissolved.
Step Three
Next, add the mustard seeds, peppercorns, bay leaves, and peeled garlic cloves. Stir these in, ensuring they are evenly distributed
Step Four
Continue to heat the vinegar mixture for an additional 3-4 minutes. This allows the flavors to meld together and infuse the vinegar.
Step Five
While the vinegar mixture is heating, prepare your canning jars. It’s crucial that these are sterilized to prevent bacterial growth. You can do this by boiling the jars for 10 minutes in a large pot.
Step Six
Now, carefully place the mouse melons into the jars. Pour the hot vinegar mixture over the melons, ensuring they are fully covered but leaving about a half inch of space at the top of each jar.
Step Seven
Securely close the jars and process them in a boiling water bath for 10 minutes. This helps to seal the jars and preserve the pickles.
Step Eight
After processing, remove the jars and allow them to cool at room temperature. Check the seal after 24 hours; if the lid is not concave, the jar did not seal correctly.
Step Nine
If properly sealed, these pickles can be stored in a cool, dark place for up to a year. If the jar did not seal, the pickles can be refrigerated and eaten within a week.


