| Prep: 25 mins | Cook: 20 mins – 25 mins | Difficulty: Medium | Serves: 6 |
| kcal | fat | saturates | carbs |
| [Tayberry Ice Cream kcal] | [Tayberry Ice Cream fat] | [Tayberry Ice Cream saturates] | [Tayberry Ice Cream carbs] |
| sugars | fibre | protein | salt |
| [Tayberry Ice Cream sugars] | [Tayberry Ice Cream fibre] | [Tayberry Ice Cream protein] | [Tayberry Ice Cream salt] |
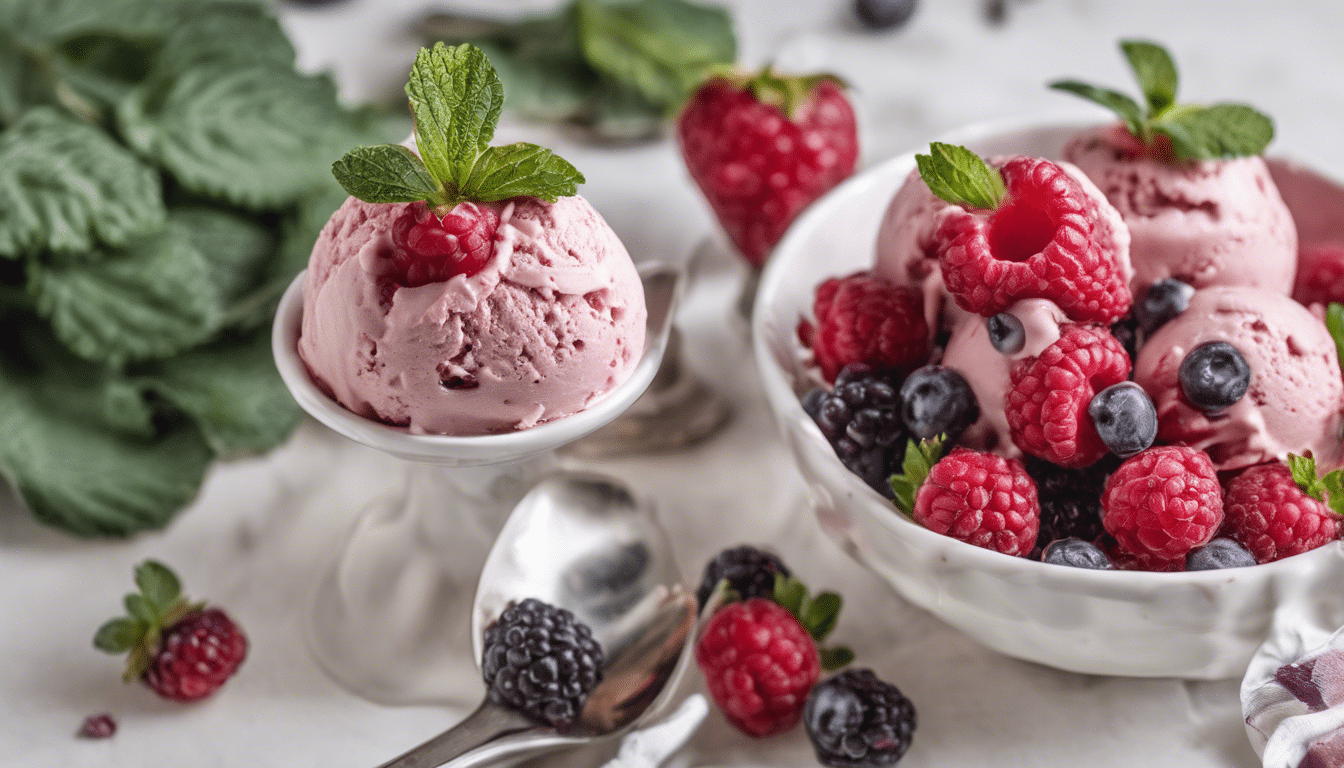
There’s something intensely satisfying about making your own ice cream. Excitingly exploring new flavors that aren’t readily available in stores is always a treat – like this striking Tayberry Ice Cream.
The Joy of Tayberries
Tayberries, these fun crossbreeds between blackberries and red raspberries, give a delightful jammy flavor, that teeters between sweet and tart. They are indeed magnificent when featured in this ice cream recipe.
Moreover, tayberries are a boon for health enthusiasts. Packed with micronutrients called polyphenols and rich in antioxidants, this tiny fruit is known to benefit your heart health. Plus, it offers a good amount of dietary fiber to support digestion, while boosting your immunity with its Vitamin C content.
Turning Fruitfulness into Creamy Coolness
With a Texan twist to this traditional Southern dessert, there’s no denying its charm. Much like your regular berries and cream, with nuances of the classic French Crème Fraîche Ice Cream, this Tayberry Ice Cream encompasses a spectrum of flavors your palate will surely appreciate. Sugared tayberries, brightened with a hint of lemon juice, gracefully dance with the rich and creamy textures of milk and heavy cream – beautifully capped with the warm scent of vanilla. All while nestled delicately beneath a silky veil of egg yolks. Wondrous!
This ice cream pairs perfectly with an array of desserts, be they pies, tarts or simply a bowl of fresh fruits. It’s going to be your new favorite finishing touch. And because this Tayberry Ice Cream makes the most of fresh, wholesome ingredients, you can indulge in this delectable delight with less guilt.
So let’s cherish the pride that comes from creating and enjoying your own ice cream. The joy from watching the smiles of your loved ones as they indulge in this cooling treat, is a true testament to the nature of cooking. Going beyond mere sustenance, it’s the expression of crafting love-drenched bites – one scoop of Tayberry Ice Cream at a time.
What You’ll Need
- 2 cups of fresh Tayberries
- 1 and 1/2 cups of granulated sugar
- 2 tablespoons of lemon juice
- 2 cups of heavy cream
- 1 cup of whole milk
- 6 large egg yolks
- 1 teaspoon of pure vanilla extract
Method
Step One
Begin by rinsing the 2 cups of fresh tayberries under cold water. After that, combine them with 1 and 1/2 cups of granulated sugar and 2 tablespoons of lemon juice in a medium-sized saucepan. Heat the mixture over medium heat, stirring occasionally, until it turns into a thick syrup.
Step Two
Once the syrup is ready, remove it from the heat and let it cool. During this time, you can combine the 2 cups of heavy cream and 1 cup of whole milk in a separate, large saucepan. Bring this mixture to a simmer over medium heat, stirring occasionally.
Step Three
In a third bowl, whisk together the 6 large egg yolks until they’re thoroughly blended. Gradually whisk in about a half cup of the hot cream mixture to temper the eggs. Once that’s done, gradually whisk in the remaining cream mixture until it’s all blended together.
Step Four
Return the cream and egg mixture to the large saucepan and cook it over medium heat, stirring constantly. Cook it until the mixture is thick enough to coat the back of a spoon. Once it’s to this point, remove it from the heat and stir in the tayberry syrup and 1 teaspoon of pure vanilla extract.
Step Five
Now, you’ll want to chill the mixture. Pour it through a fine-mesh sieve into a bowl. Cover the bowl tightly with plastic wrap and refrigerate it until it’s thoroughly chilled, about 2 hours or overnight.
Step Six
Once the mixture is chilled, churn it in an ice cream maker according to the manufacturer’s instructions. Once churned, transfer the ice cream to an airtight container and freeze it until it’s firm, about 2 to 3 hours or overnight. Then, it’s ready to serve and enjoy!


