| Prep: 5 mins | Cook: 8 mins – 11 mins | Difficulty: Easy | Serves: 6 |
| 1 cup warm water (110 degrees F) |
| 1 1/2 teaspoons salt |
| 2 teaspoons granulated sugar |
| 1 1/2 tablespoons olive oil |
| 2 1/4 teaspoons (or 1 packet) active dry yeast |
| 3 cups all-purpose flour |
| Extra flour for dusting |
| kcal | fat | saturates | carbs |
| 150 | 2g | 0.3g | 30g |
| sugars | fibre | protein | salt |
| 1g | 1g | 5g | 0.6g |
About Pita
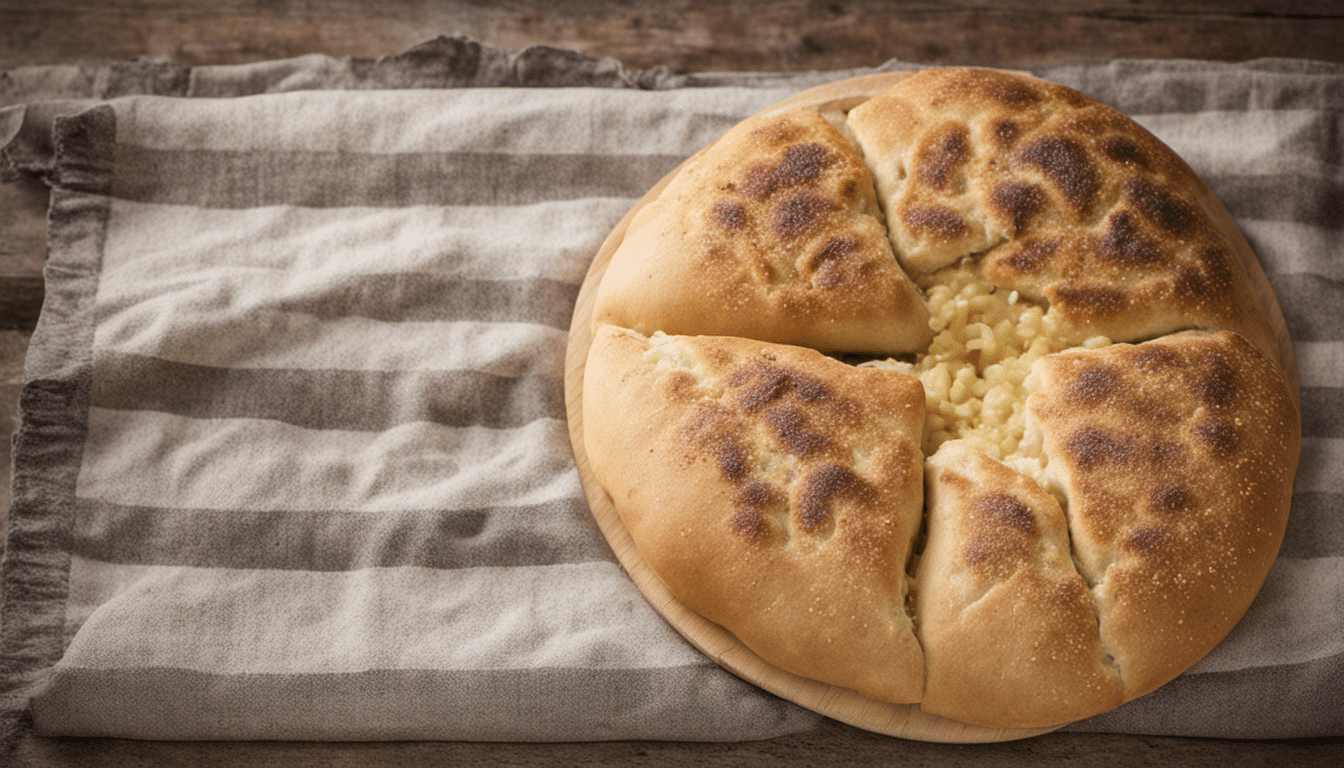
Delve into the world of Mediterranean baking with Pita – an oven-baked, round flatbread that has been a large part of Middle Eastern and Mediterranean cuisine for thousands of years. Pita is unique for its “pocket” style, which is achieved by baking rolled-out dough at a very high temperature, causing it to puff up and form a pocket as it cools and flattens.
What makes Pita such a versatile bread to have in your culinary repertoire is its simplicity. Made from pantry staples like warm water, granulated sugar, olive oil, and all-purpose flour, you won’t need to go hunting for any unusual ingredients. Pita’s basic ingredient list also enables it to pair well with a multitude of fillings and dips, making it a truly international bread.
Cultural Significance and Uses
The beauty of Pita lies not only in its simplicity but also in its diverse usage. From sandwiches to salads or as a palate-pleasing partner to exotic dips like hummus and baba ganoush, the applications of pita bread are endless. It’s also the perfect companion to souvlaki and gyros, traditional Greek dishes that would be incomplete without the ever-present pita.
Texture and Flavor Profile
A well-made pita bread offers a light, subtly yeasty flavor, balanced with a hint of olive oil and a pleasing crunch from the crust. It’s soft yet sturdy – enough to hold fillings without falling apart, and gets a delightful chewiness from the inclusion of wheat flour. The interior pocket, pita’s most distinctive feature, is not just visually fun but also highly functional, providing a pocket for stuffing ingredients of your choice in many delightful recipes.
Given its delicious impartiality, it’s not surprising that Pita has found a place in many other cuisines too, outside of its Middle-Eastern and Mediterranean home. Its similarities to Indian Tandoori Roti, or even Mexican tortillas, give it a versatile global appeal, making it a beloved bread choice across cultures.
Next time your meals demand an exotic touch, or you simply want to experiment with bread baking, embrace the mix of culture and convenience with Pita. Whether tucked into a lunchbox, served alongside a smoky eggplant dip, or wrapped around grilled lamb for a Greek-style feast, this ancient bread promises a deliciously satisfying experience that transcends borders and times.
What You’ll Need
- 1 cup warm water (110 degrees F)
- 1 1/2 teaspoons salt
- 2 teaspoons granulated sugar
- 1 1/2 tablespoons olive oil
- 2 1/4 teaspoons (or 1 packet) active dry yeast
- 3 cups all-purpose flour
- Extra flour for dusting
Method
Step One
In a large bowl, combine the warm water, salt, sugar, and olive oil. Sprinkle the yeast over the top of the water mixture and let it sit for about 5 minutes, or until the yeast is foamy and bubbly.
Step Two
Add the flour to the yeast mixture. Stir until a sticky dough forms. If the dough is too wet, add a bit more flour, a tablespoon at a time, until the dough is manageable.
Step Three
Turn the dough out onto a lightly floured surface, and knead it for about 10 minutes, or until the dough is smooth and elastic.
Step Four
Place the kneaded dough back into the bowl, cover it with a clean kitchen towel, and let it rise in a warm place for about 1.5-2 hours, or until it has doubled in size.
Step Five
After the dough has risen, divide it into 8 equal pieces. Roll each piece into a ball, then flatten it into a disk about 1/4-inch thick.
Step Six
Preheat your oven to 500 degrees F (260 degrees C) and place a baking sheet or a pizza stone in the oven to heat up.
Step Seven
Once the oven is preheated, place the dough disks onto the hot baking sheet or pizza stone and bake for about 5 minutes, or until the pitas are puffed up and lightly browned.
Step Eight
Remove the pitas from the oven and place them on a rack to cool. Once they have cooled, they are ready to be filled with your favorite ingredients and enjoyed!


